How to Decorate Pie Crusts

How to Decorate Pie Crusts
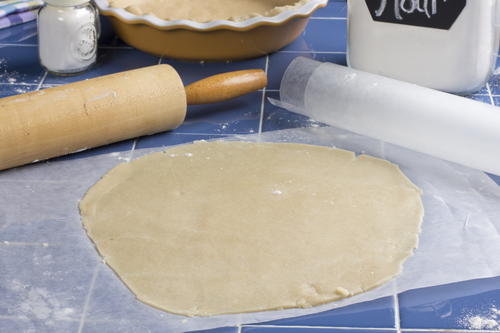
- Place your homemade or store-bought pie crust in a pie plate and let the crust hang over about 1-inch. Trim any extra dough with kitchen shears or a paring knife. Tuck the excess dough under the edge of the crust. This will help build up the edge and prevent it from slipping down during baking.
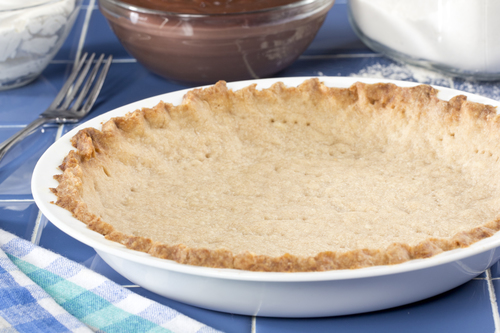
- Fluted Pie Crust Edge: Put the top of your index finger against the inside edge of the pastry, and, using the thumb and index finger of your other hand, press the dough around your index finger, creating sort of a V-shape.
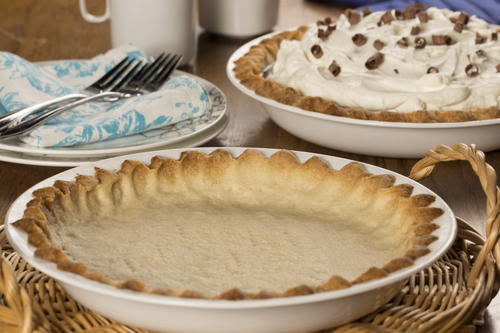
- Scalloped Pie Crust Edge: This one is similar to a fluted edge, except that the pattern is wider. The difference is, you'll use a knuckle on the inside and press around it. This type of pie crust edge gives your pie a country or Amish look.
- Dimple Pie Crust Edge: Instead of pinching the dough, as you would with a fluted edge or scalloped edge, you'll use the handle of a wooden spoon to create indentations all around the crust. This type of pie crust edge gives your pie a fun and whimsical look.
- No matter how you decide to decorate your pie crust edge, you want to make sure that, once you're done decorating, you prick the dough with a fork on the sides and the bottom. This will make sure it holds its shape and doesn't puff up.
We love making homemade pies all year-round, whether it's fruit pies in the spring, no-bake pies in the summer, holiday pies in the fall, or warm-baked pies in the winter. When it comes to serving homemade pie to your friends and family, you really want to impress 'em. One of the easiest ways to take your pie from ordinary to extraordinary is to add decorative edges to the pie crust, which is why we're sharing some of our best tips and tricks on how to decorate pie crusts. You'll be amazed at how simple it is to make your own homemade pie look like it just came out of a world-class bakery!
Read NextHow to Core an Apple

